To begin placing your macros:
- Open the Settings tab using the Gear
- Select "Documents"
Every tab within the Documents section contains macros. Each section has a separate purpose that can be easily automated with the use of macros. This article focuses on the Email Template tab.
To find a Macro within the Email Templates:
- Use the list to find your desired template to change, and click the pencil
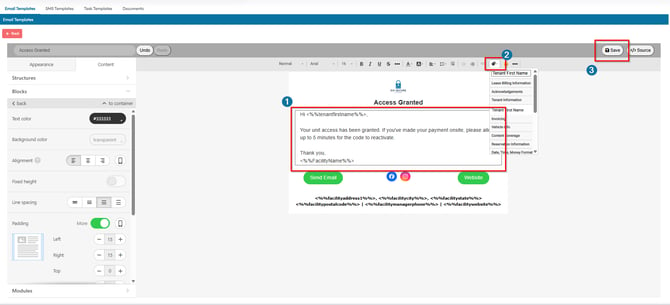
- Click anywhere inside of a text box
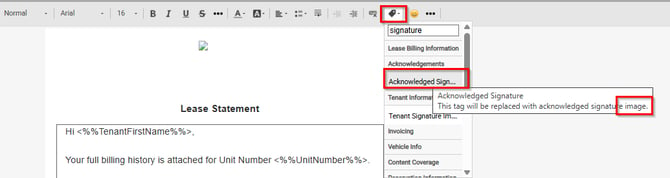
- Select the Tag dropdown, and begin searching for your macro

What is a Macro?
Macros are text placeholders for tenant-specific information. When you send an email to your tenant(s), the system automatically replaces each macro with the corresponding tenant information. Macro's typically say the information that will be replaced inside the of their identifier.
There are three types of macros available:
- Text – Replaces the macro with tenant-specific text.
- Text macros can be used directly within the email template. When the email is sent, the macro is automatically replaced with the corresponding tenant-specific value.

- Text macros can be used directly within the email template. When the email is sent, the macro is automatically replaced with the corresponding tenant-specific value.
- Image – Replaces the macro with the configured image for the tenant.
- Link – Replaces the macro with the tenant-specific URL or hyperlink.
Image
-
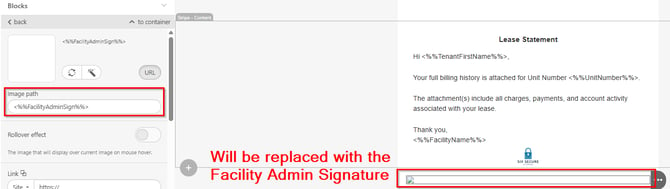
Image macros are used to display the specific images within an email template. To configure an image macro:
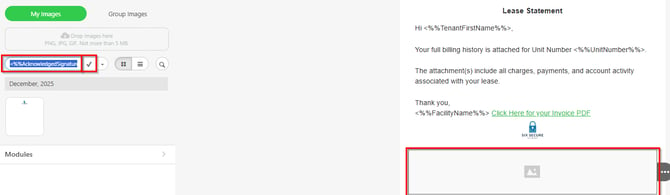
1. Find your desired Image Macro
-
- Using the Macro Dropdown, find a specified image option and temporarily add it into your template.
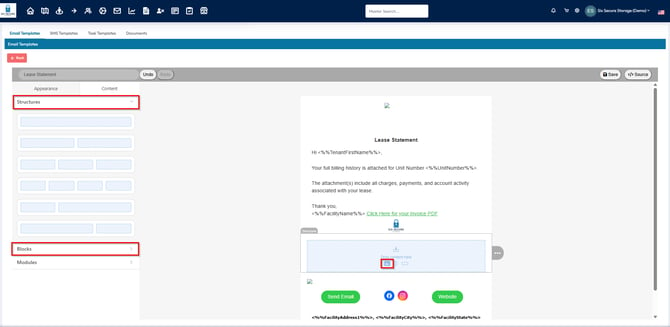
2. Insert a Structure Section or an Image Block
-
- Inside the "Content" tab on the left, either select and drag a pre-set box within Structures, or an Image module within Blocks.
- If you choose to drag a pre-set structure, configure the structure by clicking the image button highlighted below.
3. Configure your macro with the image
-
- After the image editor has opened on the left panel, copy your previously selected image macro. Paste it within the "External link" section and click the ✓ tick.
4. Configure the Image Layout.
-
- Adjust the padding and alignment settings in the left-side panel to position the image appropriately within the email template. Configure these settings as required to achieve the desired layout and appearance.
- These settings adjust how the image fits within the container around it, to change sizing and properties of the image, select the image to bring up a new panel.

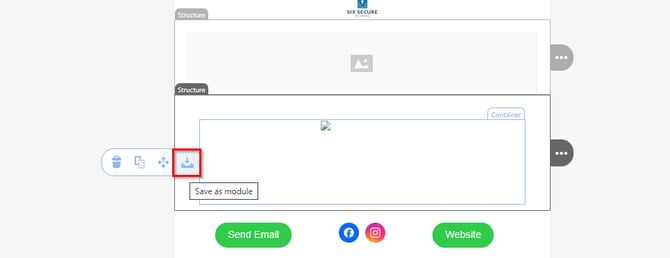
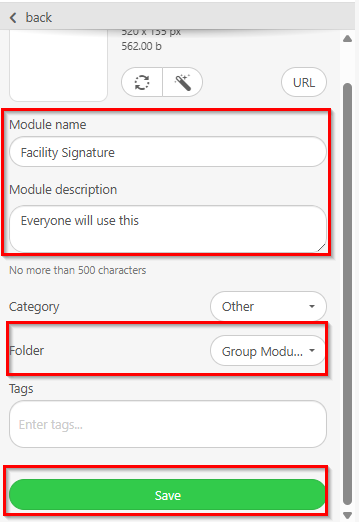
5. Save the Image Section as a Module.
-
- If this is something you want in many templates, you can save the section as a Module. Once saved, this module can be inserted and reused across other email templates, eliminating having to redo this process every time.
- When sending an email, the system automatically replaces the image macro with the image configured for the corresponding tenant, ensuring that the correct tenant-specific image is displayed in the email.
-
- Enter a name for the module and select the appropriate folder location for the module to be saved.
- If the module is saved under My Modules, it will only be available for the current user and not visible to other users. To make the module accessible to other users, save it in a Group module folder.
- After selecting the appropriate location, save the module to complete the configuration.
7. Reuse the Saved Module.
-
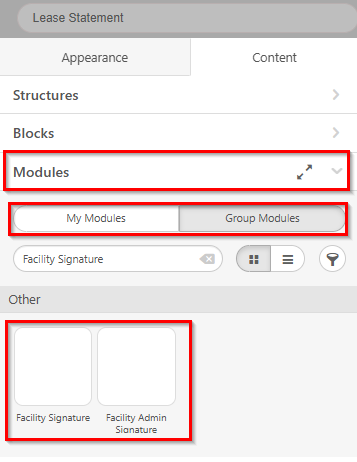
- The configured image section will be saved as a reusable module, as shown below. This module can be reused in other email templates by locating the saved module and dragging it into the desired position within the template area.
- Reusing the module ensures that the same image configuration, alignment, padding, and macro settings are consistently applied across multiple templates.
Links
-
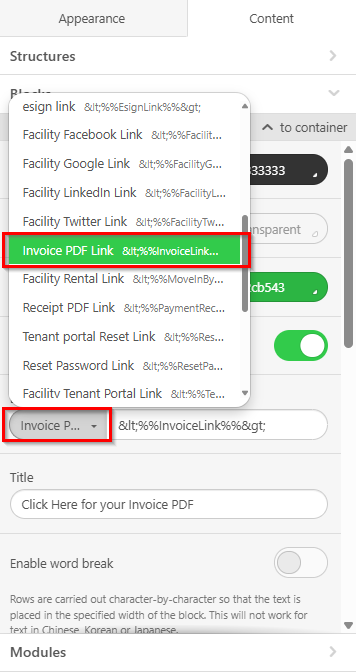
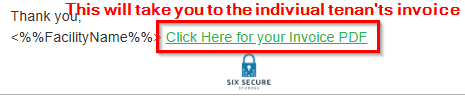
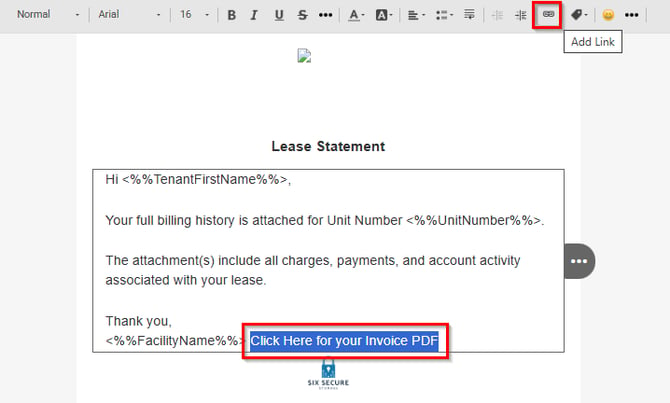
Link macros are used to add tenant-specific links within an email template.
-
Select the required text or element in the template, and choose the "Add Link" option in the toolbar.
-
Double-click the link element in the template to open the link settings. In the left-side properties panel, use the Link dropdown to select your desired macro.
- When the email is sent, the macro will be automatically replaced with the corresponding tenant-specific link.