How to Perform a Move-Out Through the 6Storage Admin Portal
Step-by-step guide on processing a tenant move-out, including final billing and vacating the unit.
Moving out a tenant is a quick and easy process in the 6Storage admin portal. Follow the steps below to complete a move-out.
Step 1: Locate the Tenant Profile
To begin, navigate to the tenant’s profile:
- The quickest way is to use the search bar at the top of the screen.
- Alternatively, click on the Tenants tab in the toolbar at the top and select the tenant from the list.

Step 2: Open the Rental Options Menu
Once you're in the tenant’s profile:
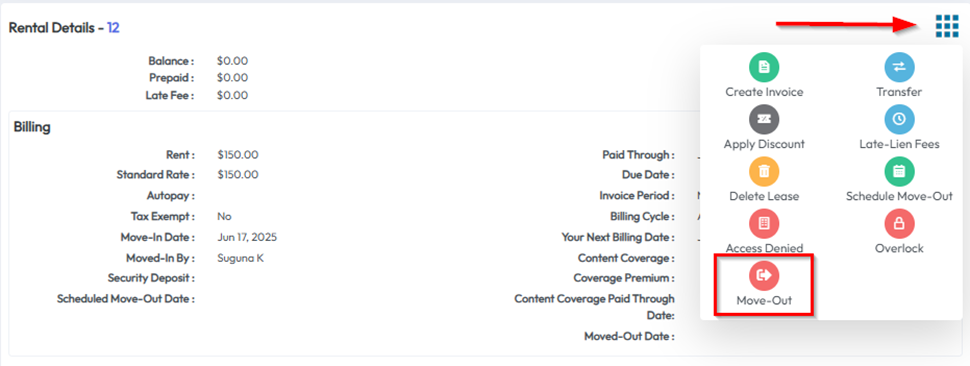
- Find the Rental Details section in the bottom right.
- Click the menu icon (in the top corner of this section).
- From the dropdown, choose Move Out.
Step 3: Enter Move-Out Details
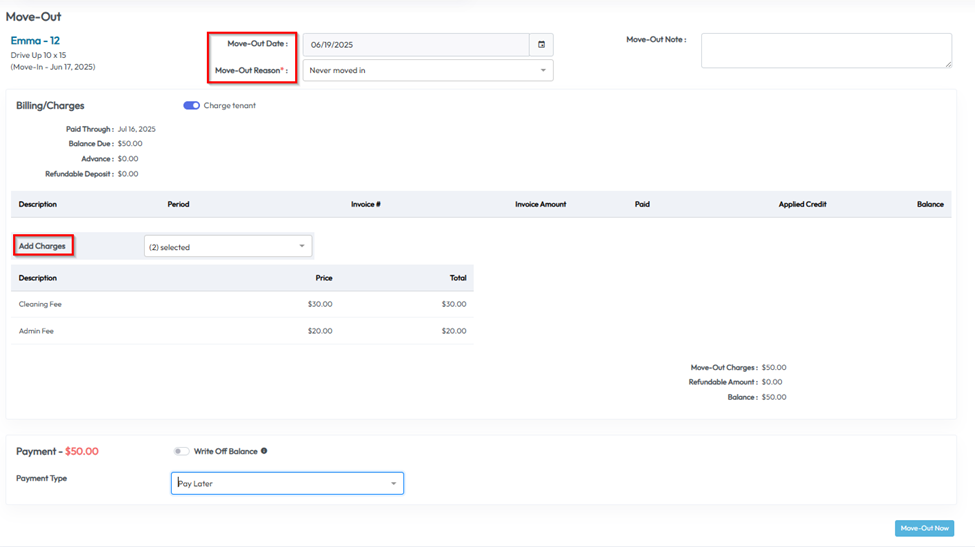
In the Move-Out window, you'll be prompted to fill in a few details:
- Move-out date
- Move-out reason
- Any applicable additional charges
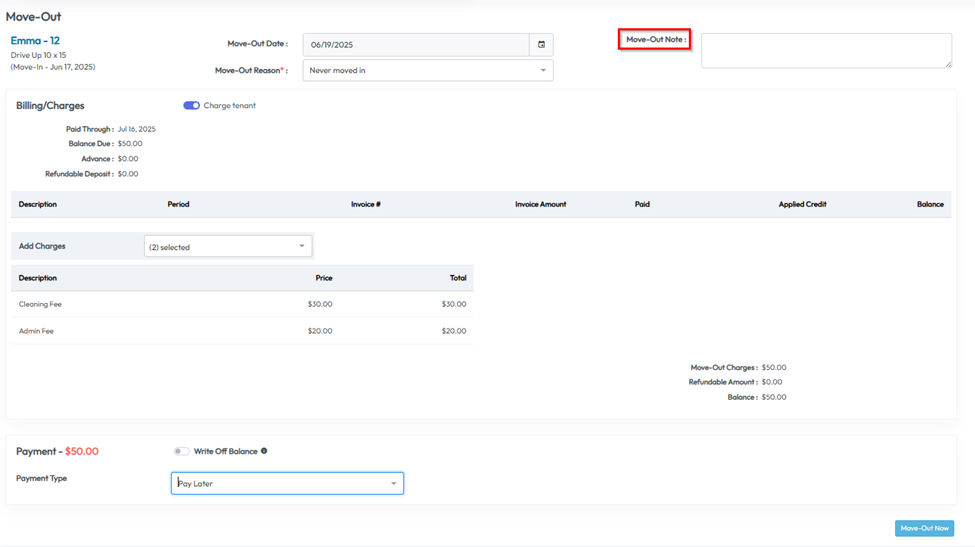
Step 4: Add a Note (Optional)
You can include a Move-Out Note for any extra details you'd like to record
Step 5: Handle Any Outstanding Balance
If the tenant has an outstanding balance, you will be given two options:
- Collect payment from the tenant
- Write off the balance as bad debt if you do not plan to collect it
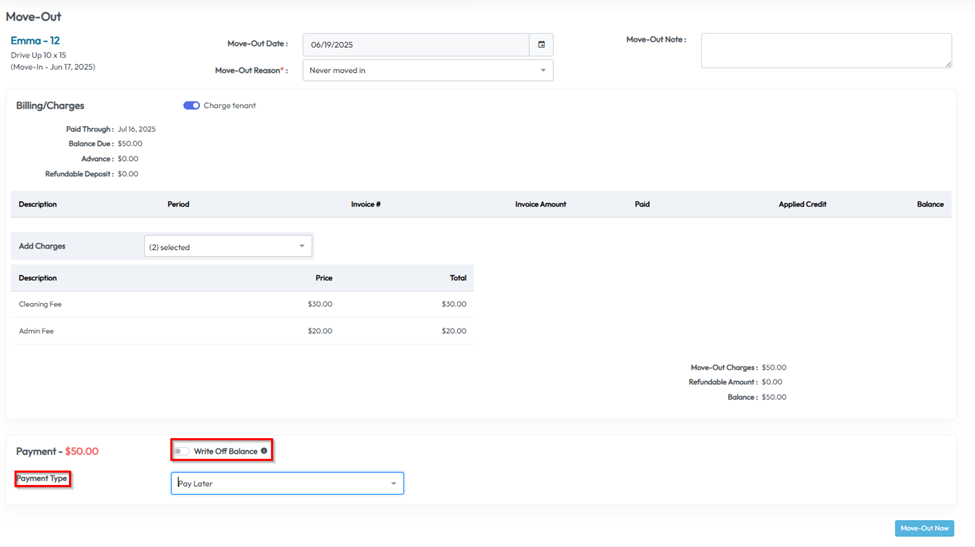
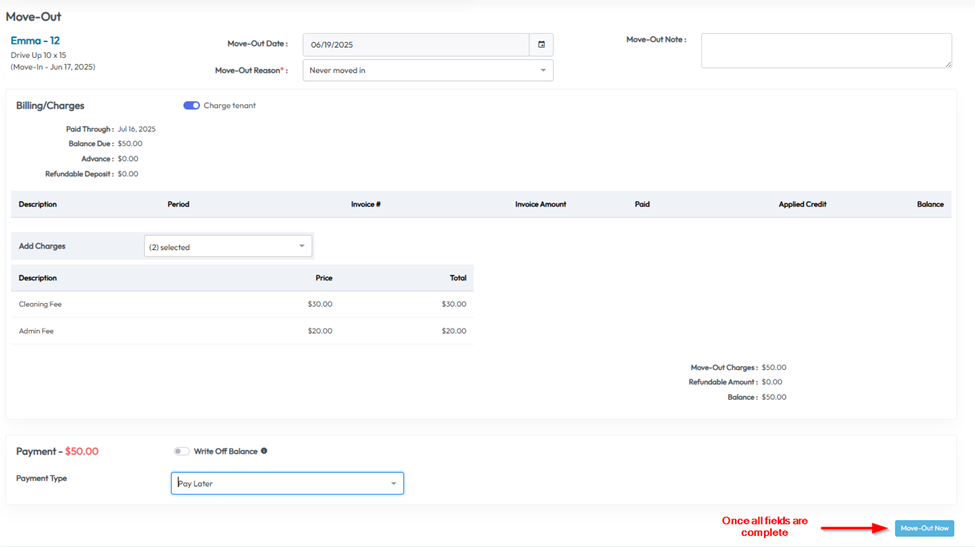
Final Step: Complete the Move-Out
Once all details are confirmed and any balance has been handled, click Move Out Now to finalize the process.
